Play your game in Roblox Studio in 5 steps
Install Roblox Studio, open your game file, and press Play. No coding needed.
Last updated:
Just follow these 5 steps. No coding needed; the first time takes about 15 minutes.
Step 1: Install Roblox Studio and sign in
- Open the Roblox creator site
create.roblox.comin your browser, click Start Creating, and download Roblox Studio. - Double-click the download to install it. Studio opens when it is done.
- Sign in with your Roblox account. No account yet? Sign up for free at
roblox.comfirst, then come back and sign in.
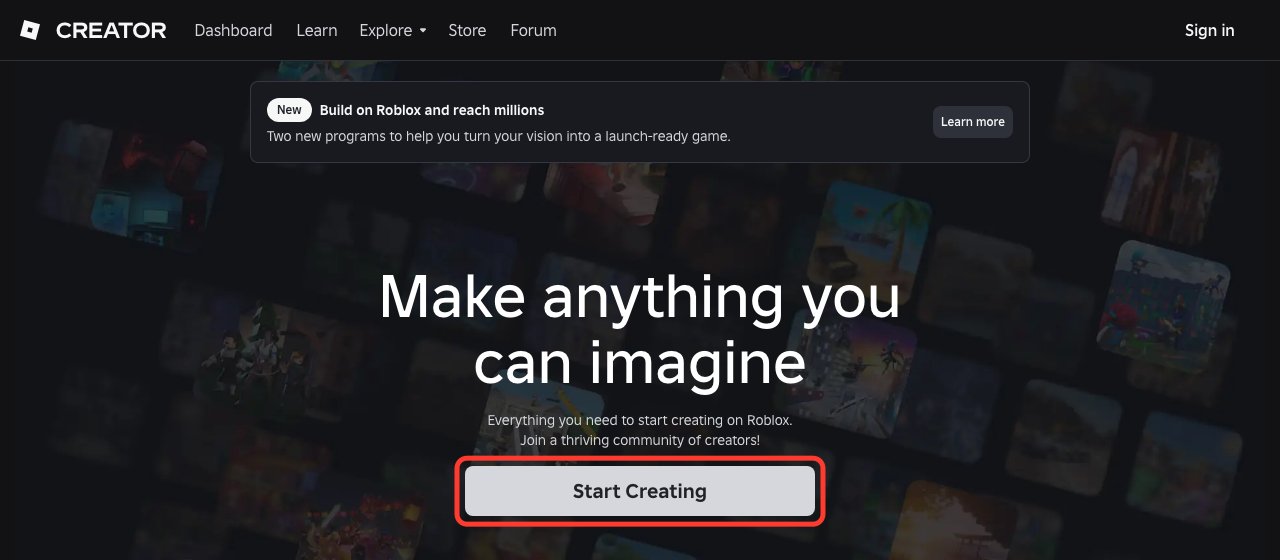
The Start Creating button is in the red box.
Step 2: Open the game file you downloaded
- On our site, click Download Studio file. You get a file ending in
.rbxlx, usually in your Downloads folder. - In Studio, click File → Open from File and pick that file.
- You can also just double-click the file and it opens in Studio.
Once it is open you can see the map. Hold the right mouse button and drag to turn the view, and scroll to zoom.
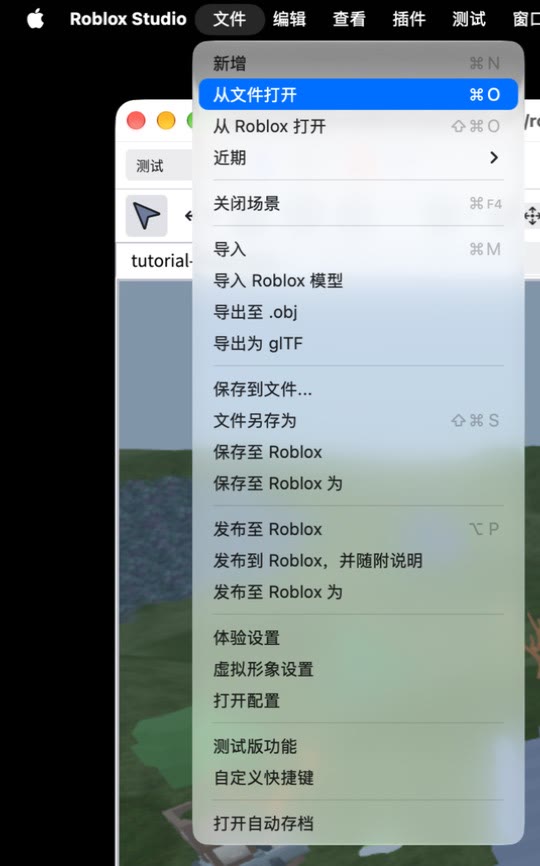
On a Mac, the File menu is in the menu bar at the very top of the screen. (Our screenshots show Studio in Chinese; the English names are in bold in the text.)
Step 3: Press Play to try it
- Click the Play button (triangle icon) in the toolbar, or press
F5. - When you are done, click Stop (square icon) or press
Shift + F5to go back to editing.
Common keys:
WASD: walk;Space: jump; hold the right mouse button and drag: turn the camera.E: when you walk up to something you can use (a chest, door, NPC, fishing spot or car), a "Press E" prompt appears. PressE.- Left mouse button: attack or fire when you hold a weapon or tool.
F,Q,G,1to5: the game's own action keys. The bottom of the screen shows what each key does.R: play another round after a round ends.
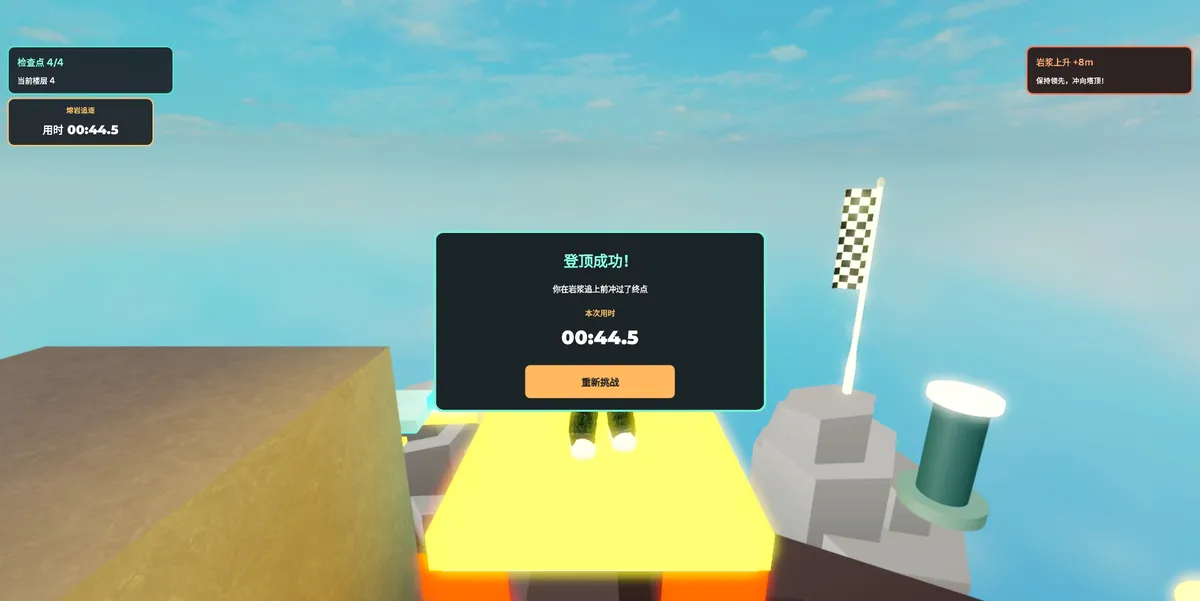
The picture shows a parkour game we made earlier, played in Studio and reaching the finish.

The left red box is Play (blue triangle) and the right one is Stop (red square).
Step 4: Saved progress needs a published game
If your game remembers coins, levels or other progress:
- Roblox only allows saving in published games. If you open the file in Studio and press Play, progress only lasts for that one session, and the game tells you once: "Publish to Roblox to keep progress".
- After you publish, saving works in the real game: leave and come back, and your progress is still there.
To publish: in Studio, click File → Publish to Roblox. This window opens.
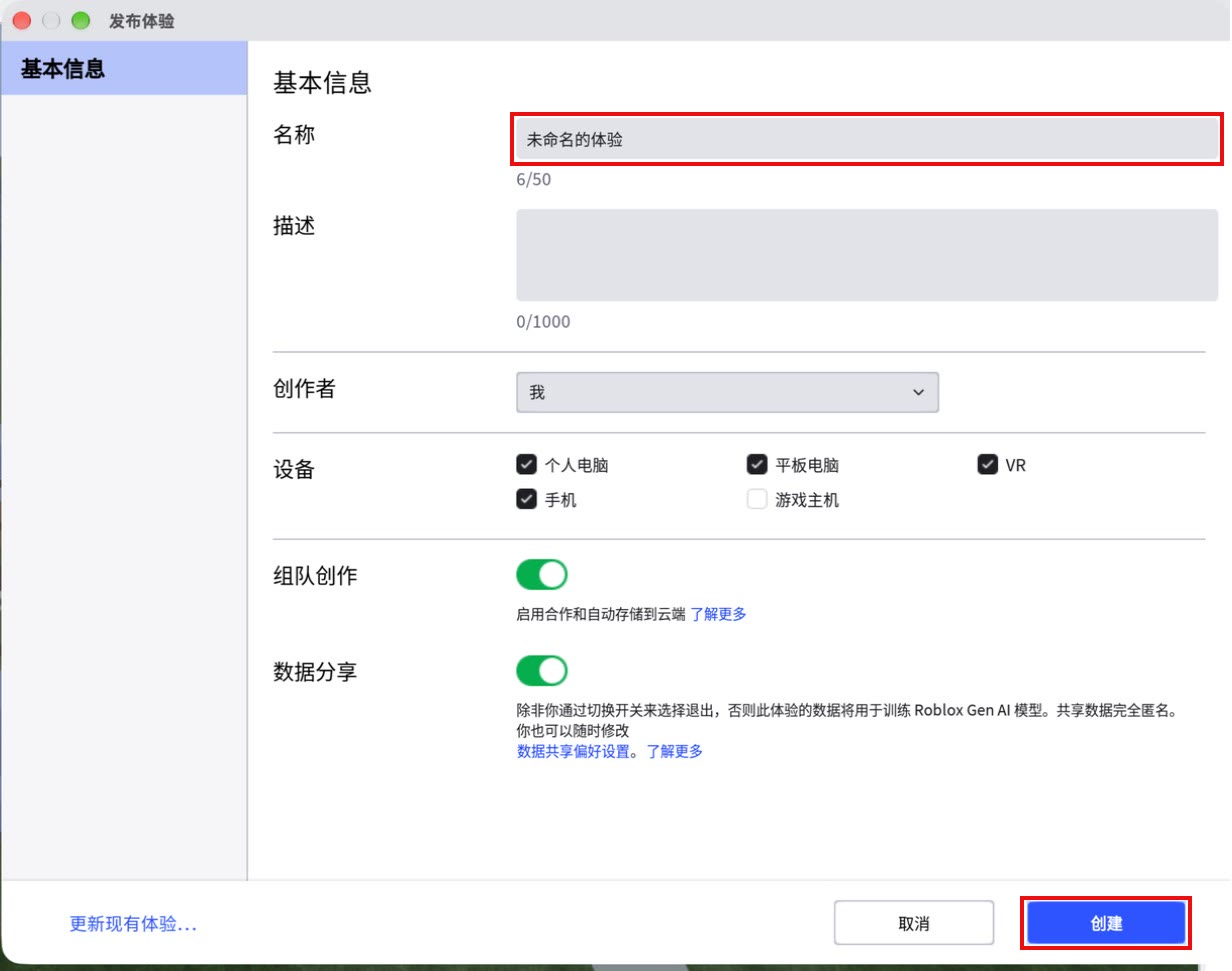
Type a name for your game in the top red box, then click Create in the red box at the bottom right, and the game is published to your Roblox account. (The screenshot is from Studio in Chinese; in English the boxes read Name and Create.)
Step 5: To keep changing it, go back to the website and just say what to change
- Changes you make yourself in Studio can't come back to the website. The website only knows the versions it made.
- To keep editing by chatting: open the same project on our site and say what to change, for example "give the monsters twice the health". When it is done, click Download Studio file again and open the new file in Studio.
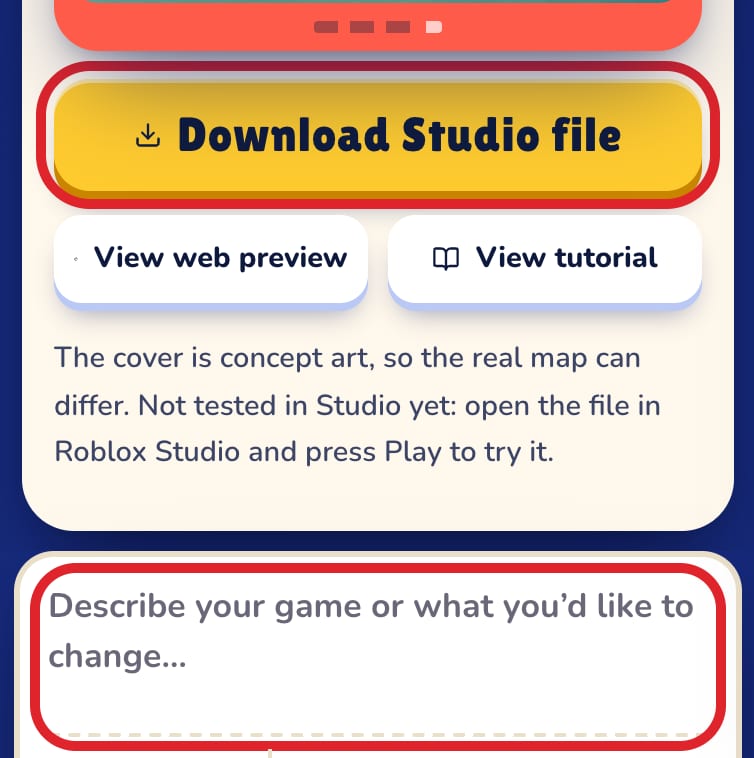
The bottom red box is the chat box: type what to change there. The top red box is the Download Studio file button: click it to download again after the change.
- The new file does not include anything you changed by hand in Studio.
- Want an older version? Restore it under History on the website first, then download.